Seamless Stitches: A Guide to Sewing Machine Needles
This comprehensive guide will reveal the essential needle types, sizes, and care tips that every sewist needs to know. From mastering the art of selecting the perfect needle for any fabric to understanding the magic of needle sizes, you'll discover how these tiny tools can transform your sewing projects. Plus, get ready to experiment and elevate your sewing game with our expert insights and practical advice. Don't miss out on this must-read for all sewing enthusiasts! 🧵✨📏 Check out the full post and unlock the secrets to flawless stitches! 🌟 Share your own sewing tips, experiences, or questions in the comments below!
TIPSSEWING NEEDLESIDEAS


The Ultimate Guide to Sewing Machine Needles
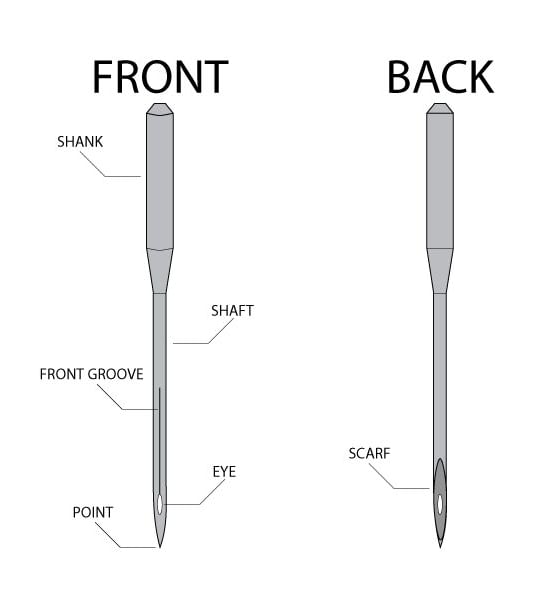
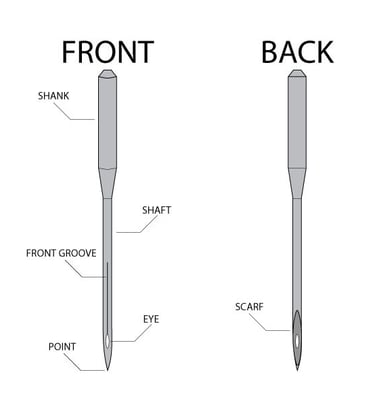
In the enchanting world of sewing, there's an unsung hero that quietly holds everything together—the sewing machine needle. Though small, this humble tool plays a crucial role in every project, and choosing the right one can mean the difference between frustration and flawless stitching.
Let’s embark on a journey to find the perfect needle for your creative endeavors.
Understanding Needle Types
Mastering the art of sewing begins with understanding the variety of sewing needles available. These indispensable tools come in different shapes, sizes, and materials, each designed for specific fabrics and tasks. Here’s a guide to the most common types:
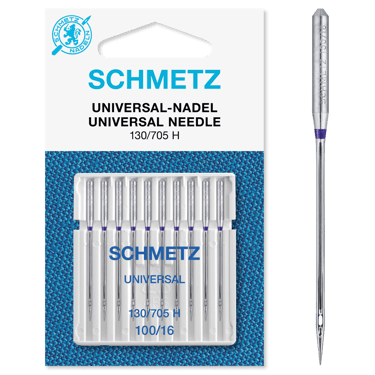
Universal Needles – Ideal for most woven and knit fabrics, making them the go-to choice for general sewing projects.
Ballpoint Needles – Designed for knit fabrics, their rounded tip prevents snags and runs, allowing for smooth stitching.
Sharp Needles – Perfect for delicate fabrics like silk and microfiber, as their fine point pierces tightly woven materials effortlessly.
Jeans Needles – Strong and durable, these needles are built to handle thick fabrics like denim and canvas.
Embroidery Needles – Feature a larger eye to accommodate embroidery threads and are specifically designed for decorative stitching.
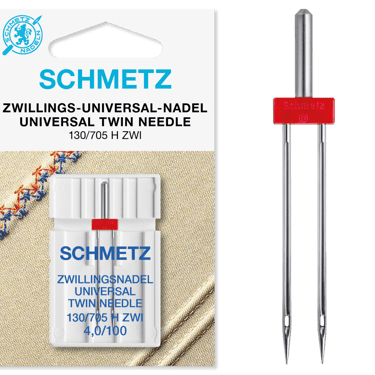
Twin Needles – Used to create parallel rows of stitching, they are excellent for hems, topstitching, and decorative details.
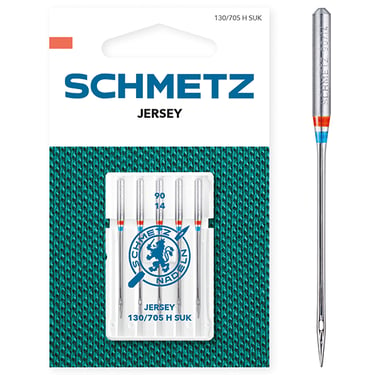
Stretch & Jersey Needles – These flexible needles are ideal for sewing stretchy fabrics, ensuring smooth, even stitches without skipped threads.
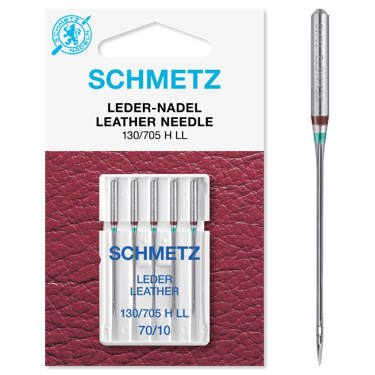
Leather Needles – Equipped with a special wedge-shaped point, they can easily pierce through leather and other tough materials without tearing.
Quilting Needles – Their tapered points make them perfect for piecing and quilting, ensuring precision with every stitch.
Each type of needle has a unique role in sewing, so choosing the right one will ensure the best results for your fabric and project.
Choosing the Right Size: Needle Size Magic
Needle size is just as important as needle type. Sizes are typically indicated by two numbers, such as 75/11 or 90/14. The first number represents the European size, while the second indicates the American size.
Here’s the golden rule: the higher the number, the thicker the needle.
Delicate fabrics like silk and chiffon require fine needles, such as 70/10 or 75/11.
Medium-weight fabrics like cotton and linen work best with 80/12 or 90/14.
Heavy fabrics like denim and upholstery fabric need sturdy needles, such as 100/16 or 110/18.
So if you see a needle labeled 90/14, that means it’s a European size 90 and an American size 14. Choosing the correct needle size ensures smooth stitching and prevents damage to your fabric.
Caring for Your Needles
To keep your sewing projects running smoothly, proper needle care is essential. Here are some key tips:
Replace your needle regularly – A general rule of thumb is to change it after 8-10 hours of sewing, but let’s be honest—I definitely go over that! Instead of tracking hours, I rely on the telltale signs that my needle needs changing.
Watch for signs of wear – Skipped stitches, fabric snags, and thread breakage are clear indicators that it’s time for a new needle.
Listen for changes – If you hear a popping sound when the needle pierces the fabric, it’s likely dull or damaged.
Check for visible damage – Bent needles or rough tips can wreak havoc on your fabric and stitching quality.
Clean your needles – Wiping your needle with a soft cloth can remove lint and fabric residue, keeping it in optimal condition.
I’ve learned to trust my sewing instincts—if something feels off, it’s probably time for a fresh needle!
Avoiding Needle Mishaps: The Importance of Choosing the Right Needle
Using the wrong needle can cause all sorts of problems, from broken threads to machine damage. Here are some common issues caused by incorrect needle selection:
Thick needles on delicate fabrics – Can leave visible puncture holes in materials like silk or chiffon.
Thin needles on heavy fabrics – Can bend, break, or struggle to penetrate thick materials like denim or leather.
Dull or damaged needles – Can cause uneven stitches, skipped stitches, or a popping sound when piercing fabric.
To avoid these issues, always match the needle type and size to your fabric and thread.
Final Takeaways
Smaller needle numbers = finer needles (best for lightweight fabrics).
Larger needle numbers = thicker needles (best for heavy fabrics).
A dull or bent needle can lead to broken threads, skipped stitches, and fabric damage—change needles regularly!
Pay attention to your sewing machine’s requirements and always choose the best needle for the job.
By selecting the right needle for each project, you’ll achieve smooth, professional-looking stitches every time. Happy sewing!